Soundproof Fence Barrier

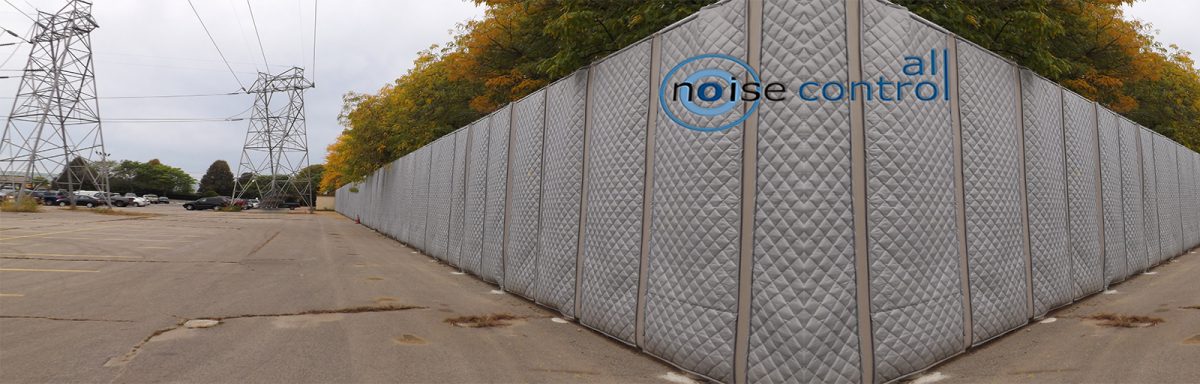
Soundproof Fence Barrier easily installed or removed in less than one hour. Totally NON-mold and UV tolerant, this material is virtually indestructible and does a wonderful job as a sound barrier.

Independent lab tests of the Soundproof Fence Barrier material shows an STC of 28, which represents to the human ear approximately an 85% reduction in sound. However, results will vary, relative to surrounding sound reflective objects, i.e., buildings, and how much of the fence is installed.

The manufacturer suggests you consider your noise source as a bright light bulb on a very dark night. To reduce that light the first step is to put a barrier (Soundproof Fence Barrier ) between it and you, blocking the direct light. Other objects in the area not blocked by the Soundproof Fence Barrier , will of course reflect an amount of reduced light to you. Sound will act in the same manner.

Other features of Soundproof Fence Barrier :

  • UV Tolerant
  • Paintable (acrylic latex vinyl based)
  • Easy to install or remove from existing fence
  • Impervious to water
  • Totally non-mold (rated 10 of 10)
  • Made from over 90% recycled or organic material
  • 100% recyclable
  • Vermin proof
  • Easily washed
  • STC 28 independent lab certified
  • Made in U.S.A. from all U.S. materials

Soundproof Fence Barrier :

  • 1/8″ thick
  • Is impervious to water or fluids
  • Will not mold or mildew
  • Will not develop or hold odors
  • Will not weigh more when wet changing structural requirements
  • Can easily wash off virtually anything including graffiti with power washer
  • Will not become a home for vermin or insects
  • Is printable for signage as well as paintable
  • Will not hold oils or fluids which could be a fire or toxic hazard
  • less space to store – each 30′ section rolls up into a mere 11″ roll
  • Can even be used as temporary roofing

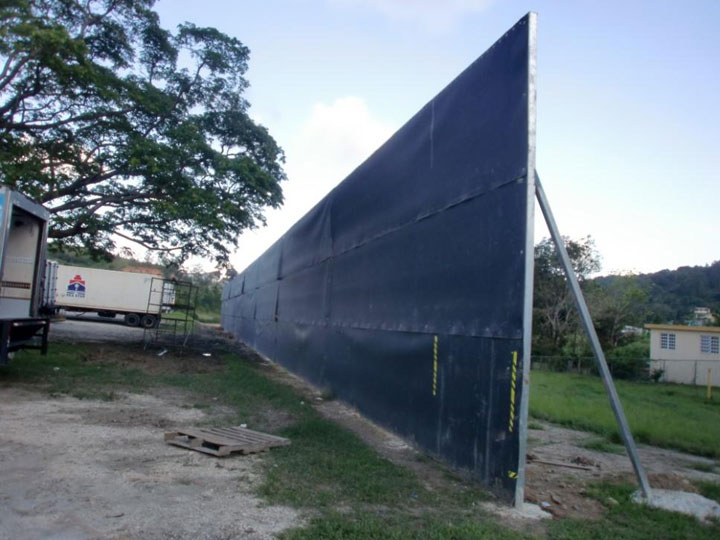
Soundproof Fence Barrier material is extremely strong and engineered to withstand outdoor construction sites, highway environments, and most other outdoor applications. Full exposure to dirt, grease, oil, mold is not a problem for  Soundproof Fence Barrier . You can even drive over it without decreasing it’s effectiveness.

Having black anodized brass eyelets every 6 inches on the top edge and some on the bottom, allows easy hanging or attaching of the fence to just about anything. Heavy duty nylon wire ties are supplied with the fence and stainless wire ties are available at additional cost. Multi-level construction projects can easily overlap multiple lengths of Soundproof Fence Barrier attached to scaffolding to achieve many floors of vertical height sound blockage.

Staggered wood shadow box privacy fences (which of course provide no acoustical privacy) can easily incorporate Soundproof Fence Barrier without changing the visual appearance. Simply remove the vertical wood slats on your side of the fence, install the Soundproof Fence Barrier and reinstall the wood vertical slats. This is very easily done and leaves the appearance intact while adding acoustical privacy. A hammer, small crowbar, screw gun and some non rusting screws should be all the tools required.

Soundproof Fence Barrier Installation

Number of people: 2 – 3
The time required: 30 – 40 min.
Items: Utility Knife, Pliers, Wire Cutter, 70 lb. nylon ties (included with purchase)

It is advisable to unroll the fence on the ground and let it relax in the sun for at least 3 hours.

Roll the fence back up. Lean the roll against the fence as vertical as possible with the grommet edge to the top. Line up the top of the roll to the top of the fence or at the desired height. Air must not go under the bottom of the fence.

Begin unrolling the Soundproof Fence Barrier along the fence. While one person slowly un-roll the material, the second person inserts the ties in each grommet and attaches to the fence or support structure. Leave ties very loose at this time. Ensure that the material is kept taut (lengthwise) as you install the ties to prevent it from bunching up between ties. A third person is useful to help support the weight and keeping the fence pulled tight. Do not tighten the ties yet. Install all ties first keeping them loose.

Pull each tie so that the Soundproof Fence Barrier is properly lined up at the desired height. DO NOT make the nylon tie tight! It must be loose enough to allow the eyelet to pivot freely on the tie. Try to distribute weight equally using every grommet. (FIGURE A)

Increase the tension on each tie (do not fully tighten) such that the weight of the fence is evenly distributed. Do not trim off the end of nylon tie until you are sure weight is evenly distributed. (You may even wait on this for several days to ensure equal tension after material fully relaxes in place.

The end and bottom grommets should also be attached (again, loosely). The bottom and sides must not be allowed to flap or to be excessively loose such that when the wind blows it yanks back and forth on the bottom grommets. At the bottom add dirt on both sides, the full length of the fence. Air and sound must not be allowed under the fence.